
Sample Types
This article describes how to grant appropriate users access to the Ovation LIMS Sample Types page. The Sample Types page is used to add new Sample Types with an associated SNOMED code, delete Sample Types, or view and export current Sample Types.
On the Samples Types Page, users can link the Sample Types that appear on their Requisition Forms and Orders with an appropriate SNOMED code.
SNOMED codes are an international standard for Sample Types. Every Sample Type in the Ovation LIMS is required to be associated with a SNOMED code. A limited number of SNOMED codes are currently available for association. To request a SNOMED code addition to the Ovation LIMS, please contact support@ovation.io.
Sample Types are initially configured during Ovation LIMS Onboarding Implementation. Users that want to add/delete Sample Types after Implementation should contact support@ovation.io to connect Sample Type changes with Requisitions and Workflows.
Read the entire article or click a link below to navigate to your section of interest.
Permissions
To access the Sample Types page, users must have the Permission of “Sample Types” set to Admin, Write, or Read.
Note: The Admin, Write, and Read permission levels all provide the same level of access for Sample Types.
To learn more on how to update user permissions, see the article on Roles & Permissions.
Sample Types Page
The Sample Types page allows users with the appropriate permission to add a list of Sample Types with SNOMED codes that can be used throughout the Ovation LIMS.
Add a Sample Type
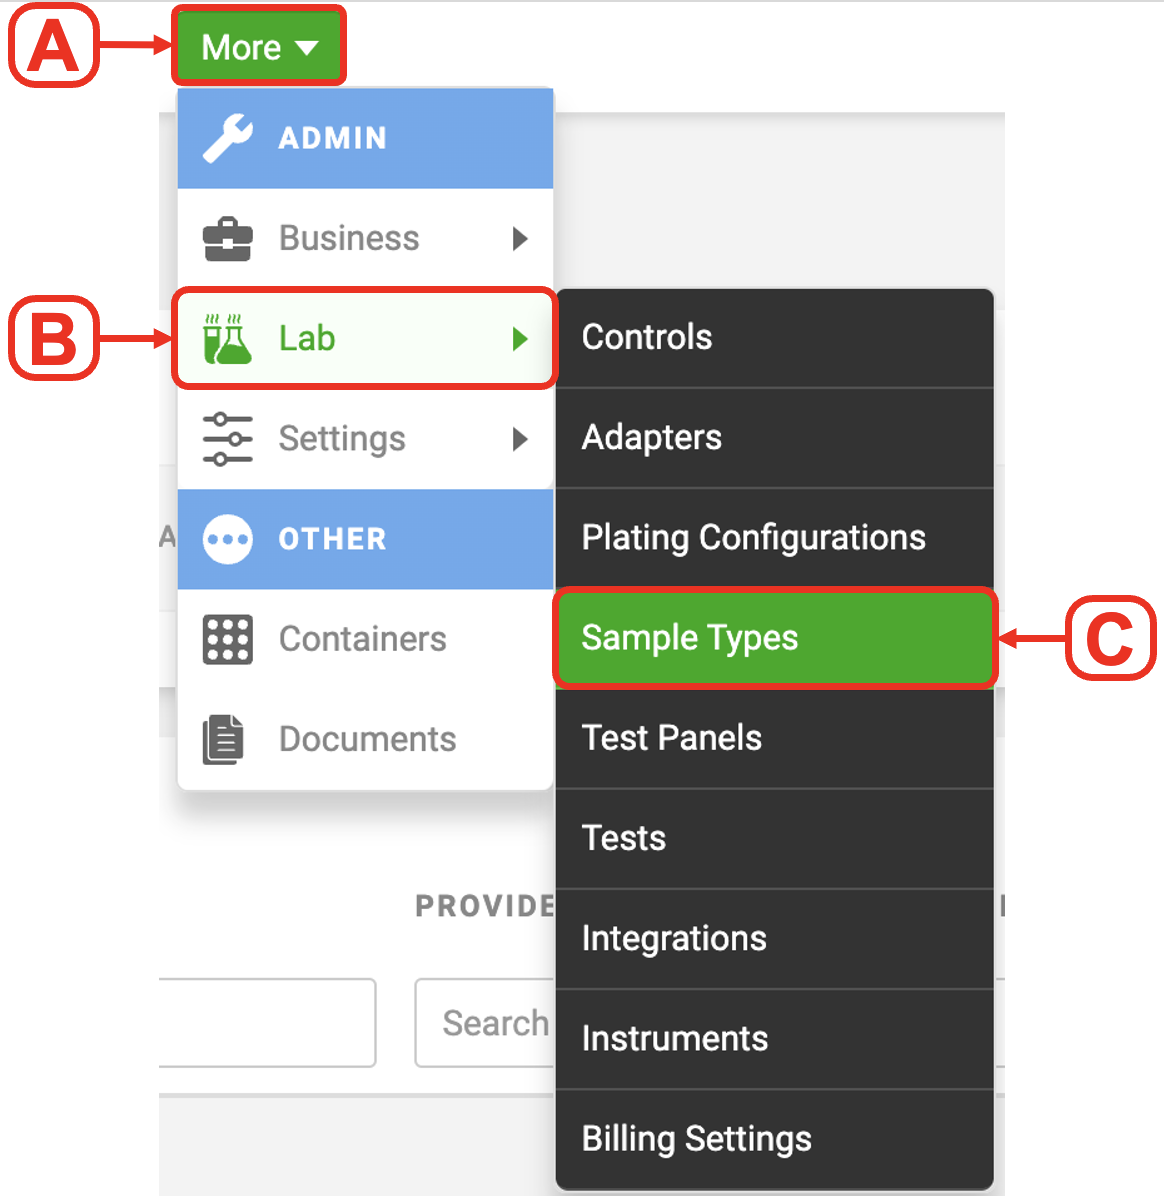
1. Navigate to the Sample Types page
A. Click the “More” button in the Dashboard bar
B. Hover over “Lab”
C. Select “Sample Types”
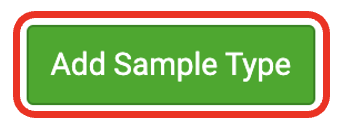
2. Click the “Add Sample Type” button
3. Enter a sample Type Name
Note: The Sample Type Name corresponds to the available Sample Types that are available on your Requisition Forms/Orders
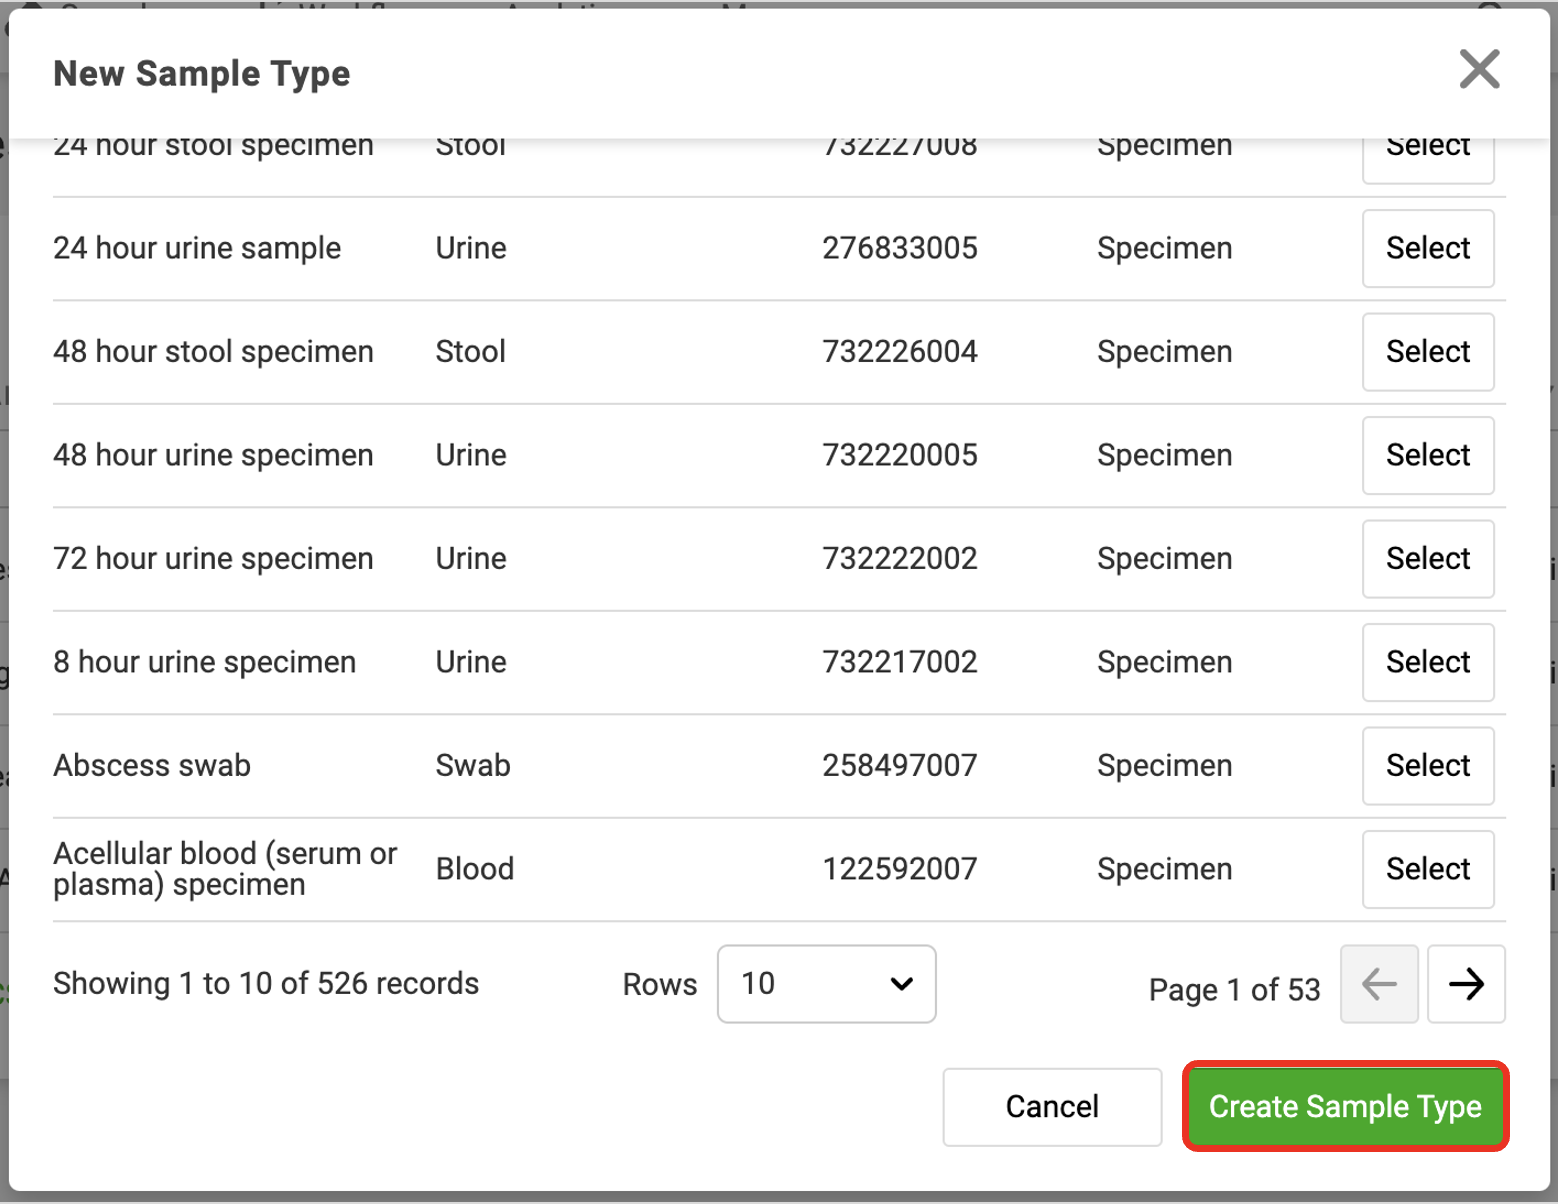
4. Search and select the appropriate SNOMED NAME for this Sample Type
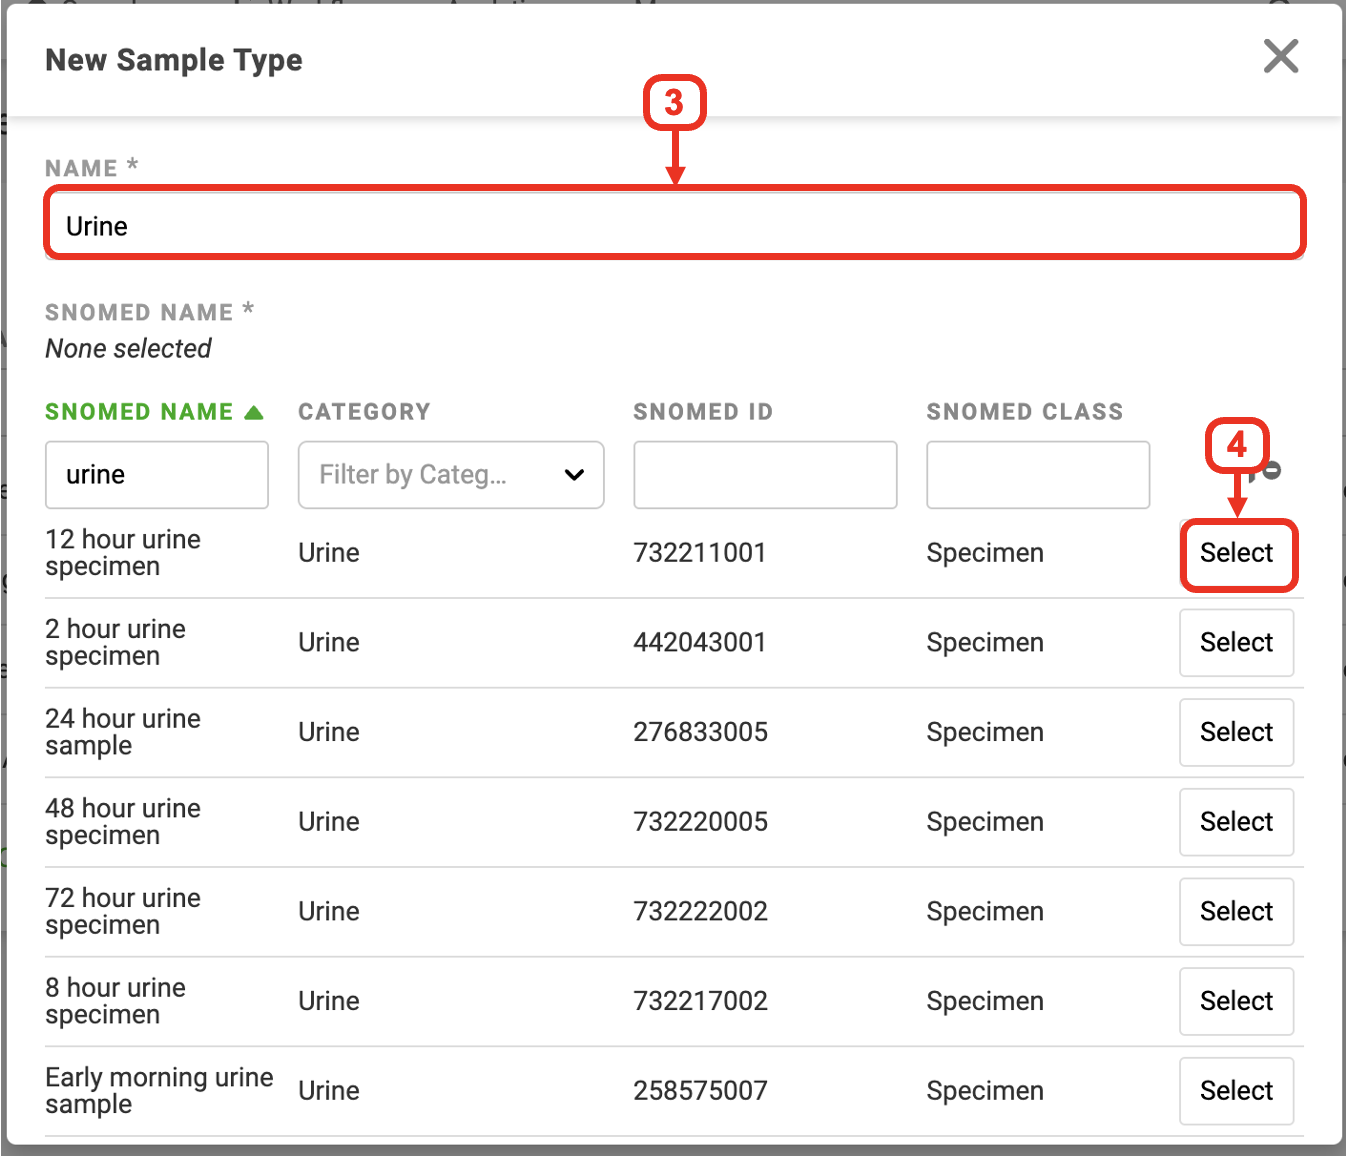
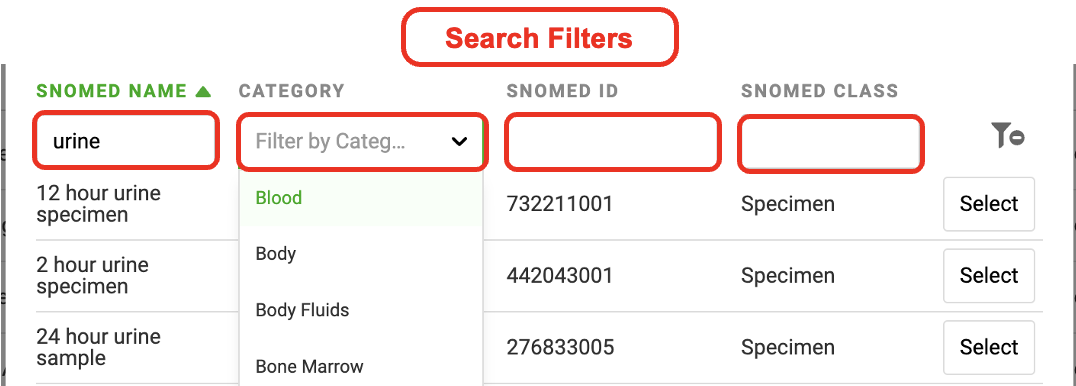
Tip: Use additional search filters of “CATEGORY”, “SNOMED ID”, and “SNOMED CLASS” to refine search results
5. Scroll down to bottom of modal and click “Create Sample Type”
Note: Added Sample Types are automatically available for selection to add to Requisitions in Requisition Form Settings. However, the new Sample Types are not automatically connected to Workflows. To connect new Sample Types to Workflows, please contact support@ovation.io.
Delete a Sample Type
Sample Types can be deleted. Deleted Sample Types will no longer be available for selection on Requisition Forms/Orders. Sample Types can also be undeleted if they are deleted in error.
1. Navigate to the Sample Types page
A. Click the “More” button in the Dashboard bar
B. Hover over “Lab”
C. Select “Sample Types”
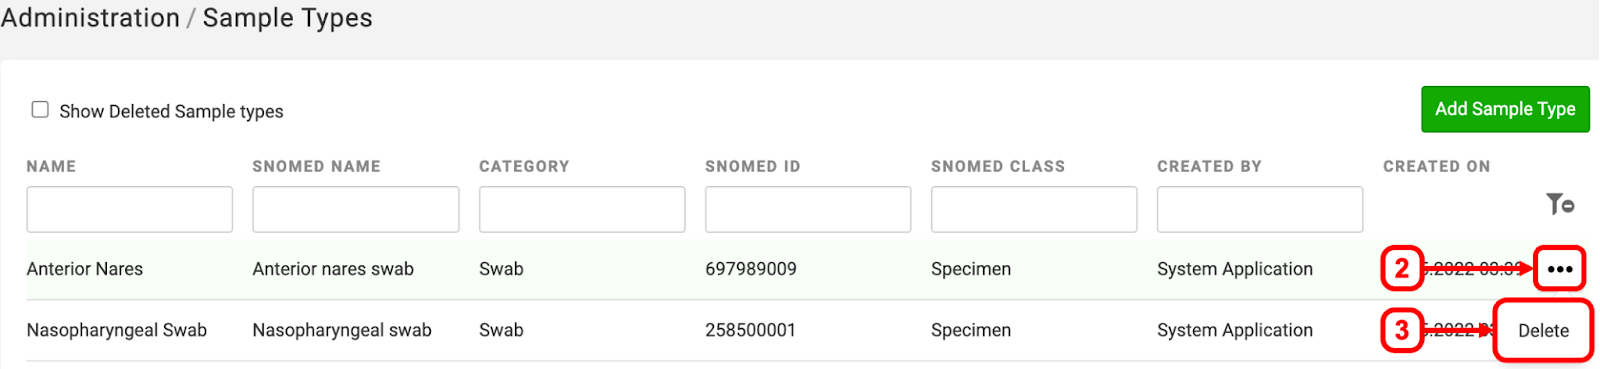
2. Click on the ellipses next to the Sample Type you want to delete
3. Click Delete in the dropdown menu
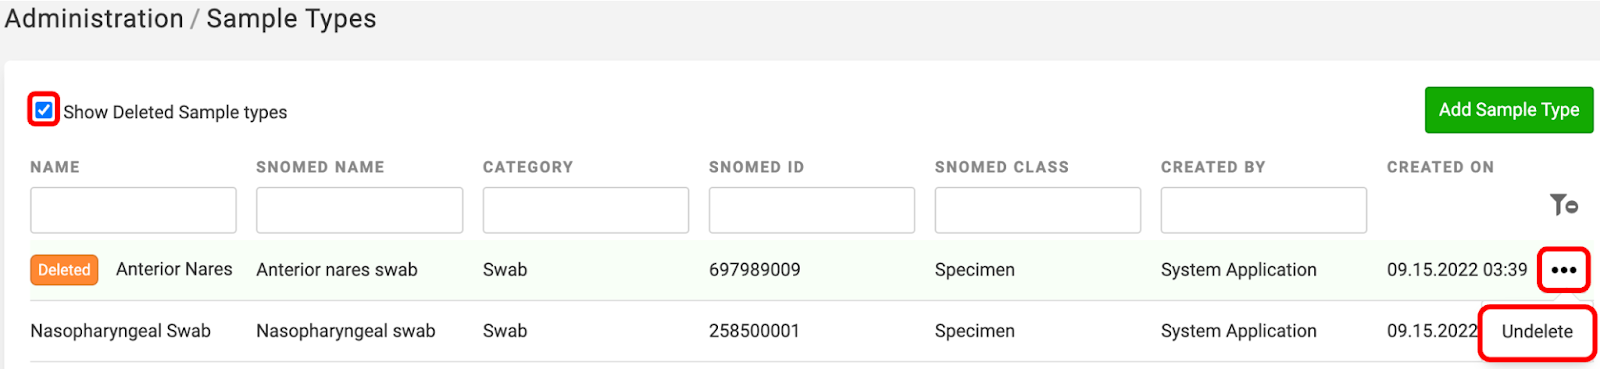
Tip: To undelete a Sample Type, click the checkbox next to “Show Deleted Sample Types”. Then click the ellipses next to the Sample Type you want to undelete and click Undelete in the dropdown menu
View and Export Sample Types
1. Navigate to the Sample Types page
A. Click the “More” button in the Dashboard bar
B. Hover over “Lab”
C. Select “Sample Types”
2. Click “Download CSV”

Note: A list of all current Sample Types will be downloaded independent of the number of rows displayed on the screen